

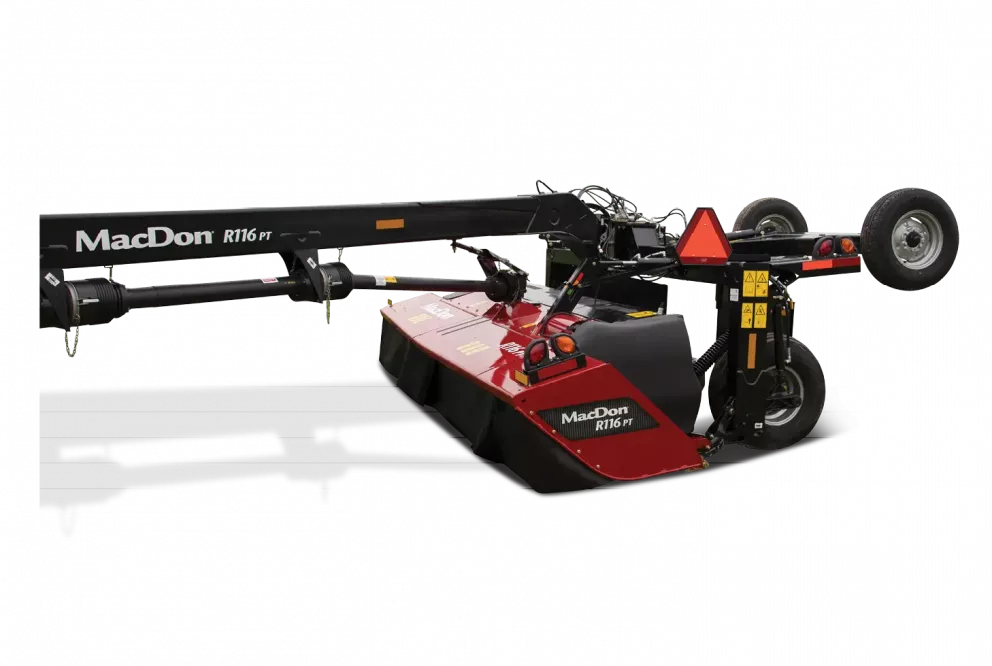

How to Configure the R1 Pull-Type Discs For Your Crop Conditions
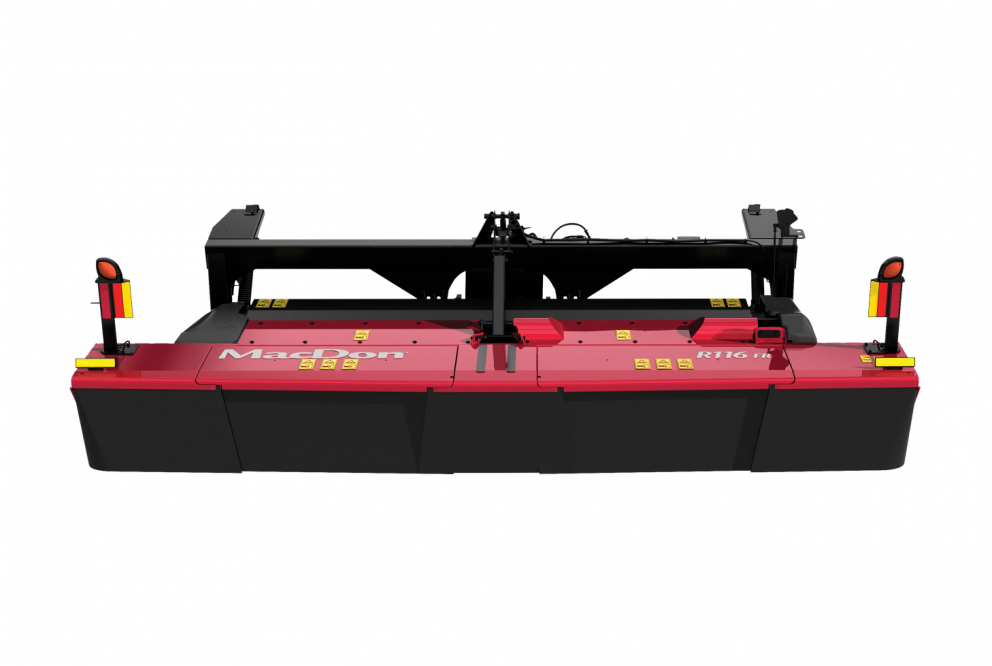
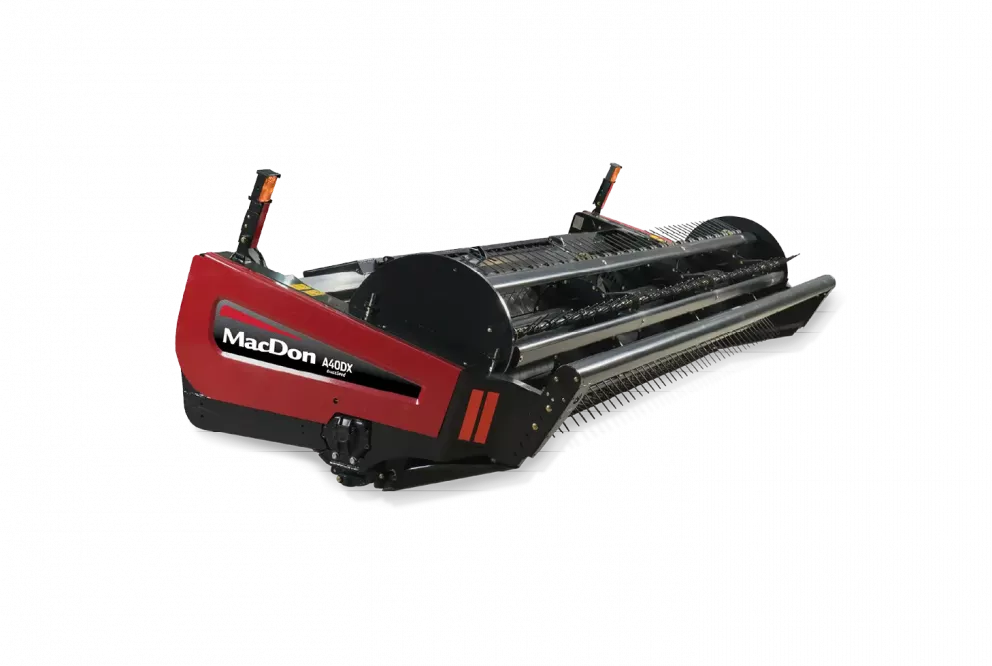
One of the benefits of the MacDon R1 Series Disc Mower is that it features a unique cutterbar design which allows the disc rotation pattern to be fully customized to suit both normal and abnormal crop cutting conditions.
They are factory configured to a three-crop stream configuration which is the best overall disc-rotating pattern in the widest variety of crop conditions. However, if your crop conditions are extremely light or extremely heavy then it might be possible to further optimize your machine by reconfiguring the disc rotation pattern.
The ability to customize the disc rotating pattern allows you greater flexibility with any harvest condition.
Disc Rotation Pattern Options
There are four possible disc rotation patterns on the R1 Series Disc Mower, with the most commonly used patterns being either the #1 or #3 crop stream configurations.
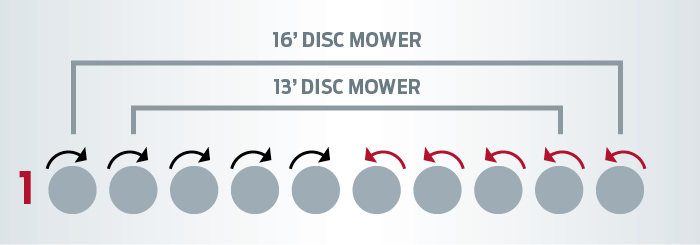
Pattern #1: Average Crop
In pattern one, all of the discs rotate inward towards the center of the unit. In this configuration, there is only one crop stream exiting the cutterbar which offers optimal performance in light crop conditions.
Pattern #2: Light Crops
In pattern two, the outer discs rotate inward while the center two discs counter rotate. This is a two crop stream configuration that might offer slightly improved performance versus configuration one.

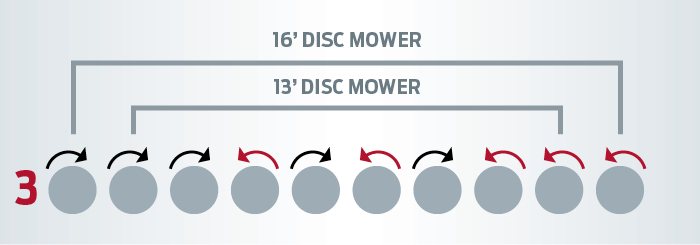
Pattern #3: Heavy Crops
In pattern three, which is the factory configuration the outer two discs on a 13 foot, or the outer three discs on a 16 foot, rotate inward, while the remaining discs all counter rotate. This is a three crop stream configuration that typically works well in heavy cutting conditions.
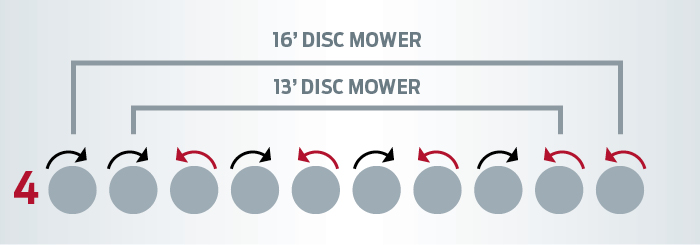
Pattern #4: Heaviest Crops
In pattern four, all of the discs on a 13 foot counter rotate, while on the 16 foot the outer two discs rotate inward, and the remaining discs counter rotate. This four crop stream is a consideration if cutting the heaviest of crops.
Steps to Configure Your Disc Rotation Pattern
To configure the disc rotation pattern of your R1 Series Disc Mower, watch the following video or follow the steps below:
- The disc mower should have the cutterbar raised off the ground and the header angle tilted to the flattest guard angle.
- Engage both safety stop valves to avoid injury.
- Shut off the engine. It is advised that the cutterbar be as clean as possible to avoid any contamination of the cutterbar oil.
- Factory configured, R1 Series Mowers have three crop streams to avoid confusion it might be helpful to label the crop streams, label the rotation pattern on each disc.
- Remove the disc.
- If installed the flange or spacer ring should be removed.
- Label the rotation pattern of the inner drive hub. You will need to move both the drive hub and the disc to the new position on the cutter bed. Caution should be used at all times when removing the drive hub.
- Align the two cutouts in the hub with the centerline of the cutter bed before removing the hub. You might require a small pry bar to break the seal allowing the drive hub to be removed from the cutter bed. Ensure that the o-ring remains with the drive hub and that it doesn't remain on the cutter bed.
- Carefully switch the drive hub to its new location using caution not to contaminate the cutter bed oil. This clockwise rotating hub will continue to be clockwise rotating in its new location. It is a good idea to do a temporary install of the disc to check for proper balance and alignment before installing all the bolts on the housing.
- Now we rotate the disc to verify the correct timing. Timing is correct when the disk is 90˚ to both adjacent discs. If a disk is out of time half a tooth, then we would correct by lifting the hub and rotate the spindle 180˚ to pick up on a different tooth. This will allow us a half tooth adjustment. Be careful not to rotate the base and only rotate the spindle 180˚. Insure that the disk is at 90˚ to the adjacent disk.
- Reinstall all hardware onto the drive hub in its new location.
- Tighten all hardware, and torque the drive spindle hub bolts to 37 foot pounds or 50 Newtons.
- Install the disk and torque the disk bolts to 63 ft/lb or 85 Nm.
- You can now check your disk rotation pattern and each crop stream can be marked to ensure that you have achieved your desired rotation pattern.
It is good to note that alterations to the disc rotation pattern should not be undertaken unless there is a significant amount of either extremely light or extremely heavy crop.
If you have further questions about your MacDon R1 Series Disc Mower, or about customizing your disc mower to your crop conditions, contact your local MacDon Dealer for further information.